Daily tasks:
- Integrate InSend to Shopify
- Upload email base
- Launch Grow Your Email List automation

Upload email base
- First, I downloaded all the client contacts from our CMS and CRM systems for the past 2 years.
- I combined them into a single Google Sheets file with three columns (email, first name, last name) and saved the file as a CSV on my laptop.
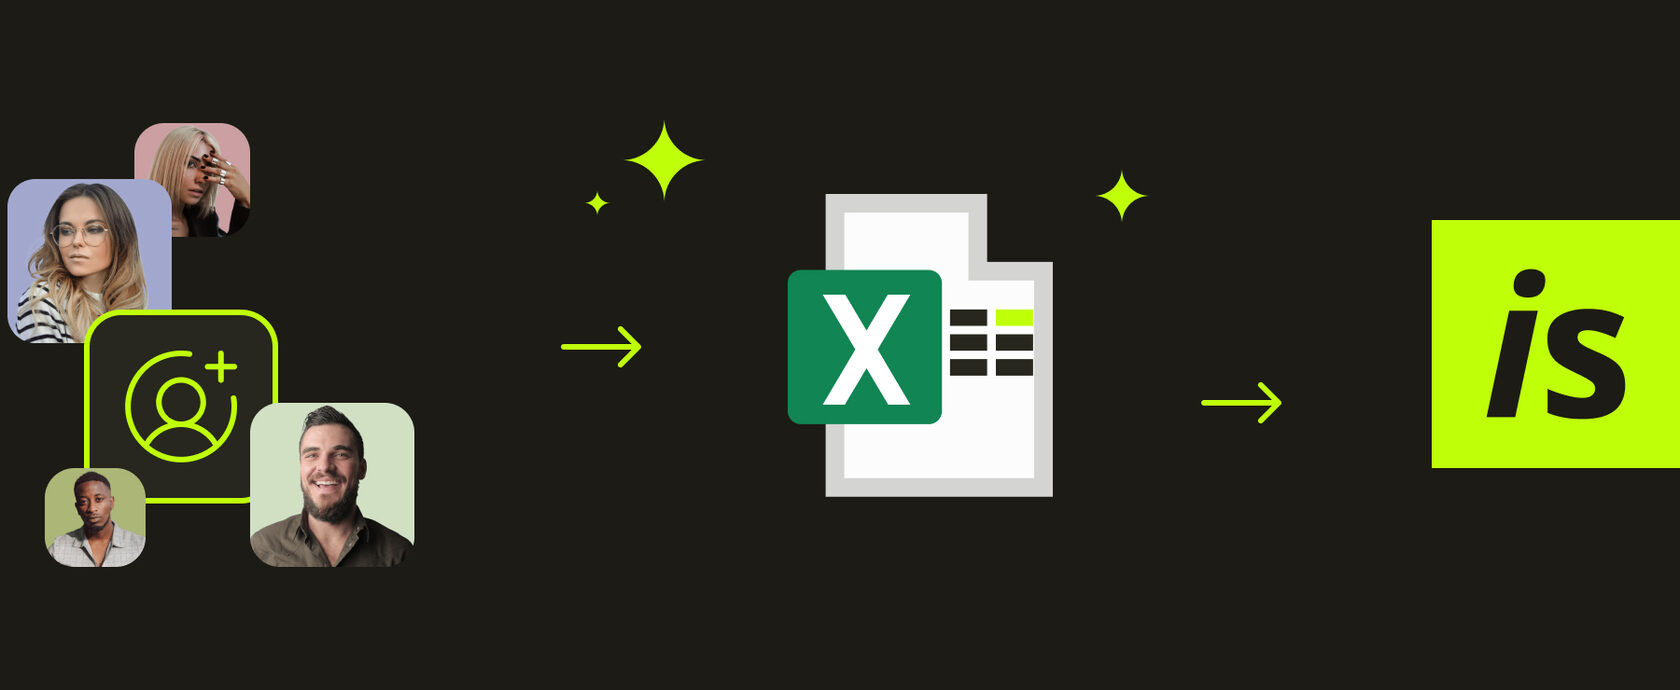
To upload the contacts to the Contact Tab in InSend, follow these steps:
- In the top right corner of the Contact Tab in InSend, click the "Upload Contacts" button and choose the file. Don't worry about the file requirements, as Google Sheets does a great job and the file from there fits perfectly.
- Once you've chosen the file, your data will appear, and you need to select the separator, encoding, and other settings. Here's what I did:
- Column Separator: Semicolon
- Text Delimiter: Double quote
- Encoding: UTF-8 After that, I selected the type of data each column stores (email, first name, last name) and clicked "Upload."
Since my file was relatively small with about 2,000 emails, uploading took a couple of minutes. After that, all the contacts appeared in the Contact Tab.
Now, it's time to launch the email collecting automation.

Launch Grow Your Email List automation
The biggest problem we faced in our store was the lack of a contact base. We had sales with advertisements but hadn't collected any visitor contacts before they made a purchase. So, our top priority was to start collecting emails.
InSend has an excellent automation called "Grow Your Email List," which includes everything we needed. Here's how I launched it:
- I went to the Automations Tab and found the "Grow Your Email List" automation. I clicked on it.
- I chose to launch the web form with a discount first. So, I clicked on the "10% Off For the First Order" web form.

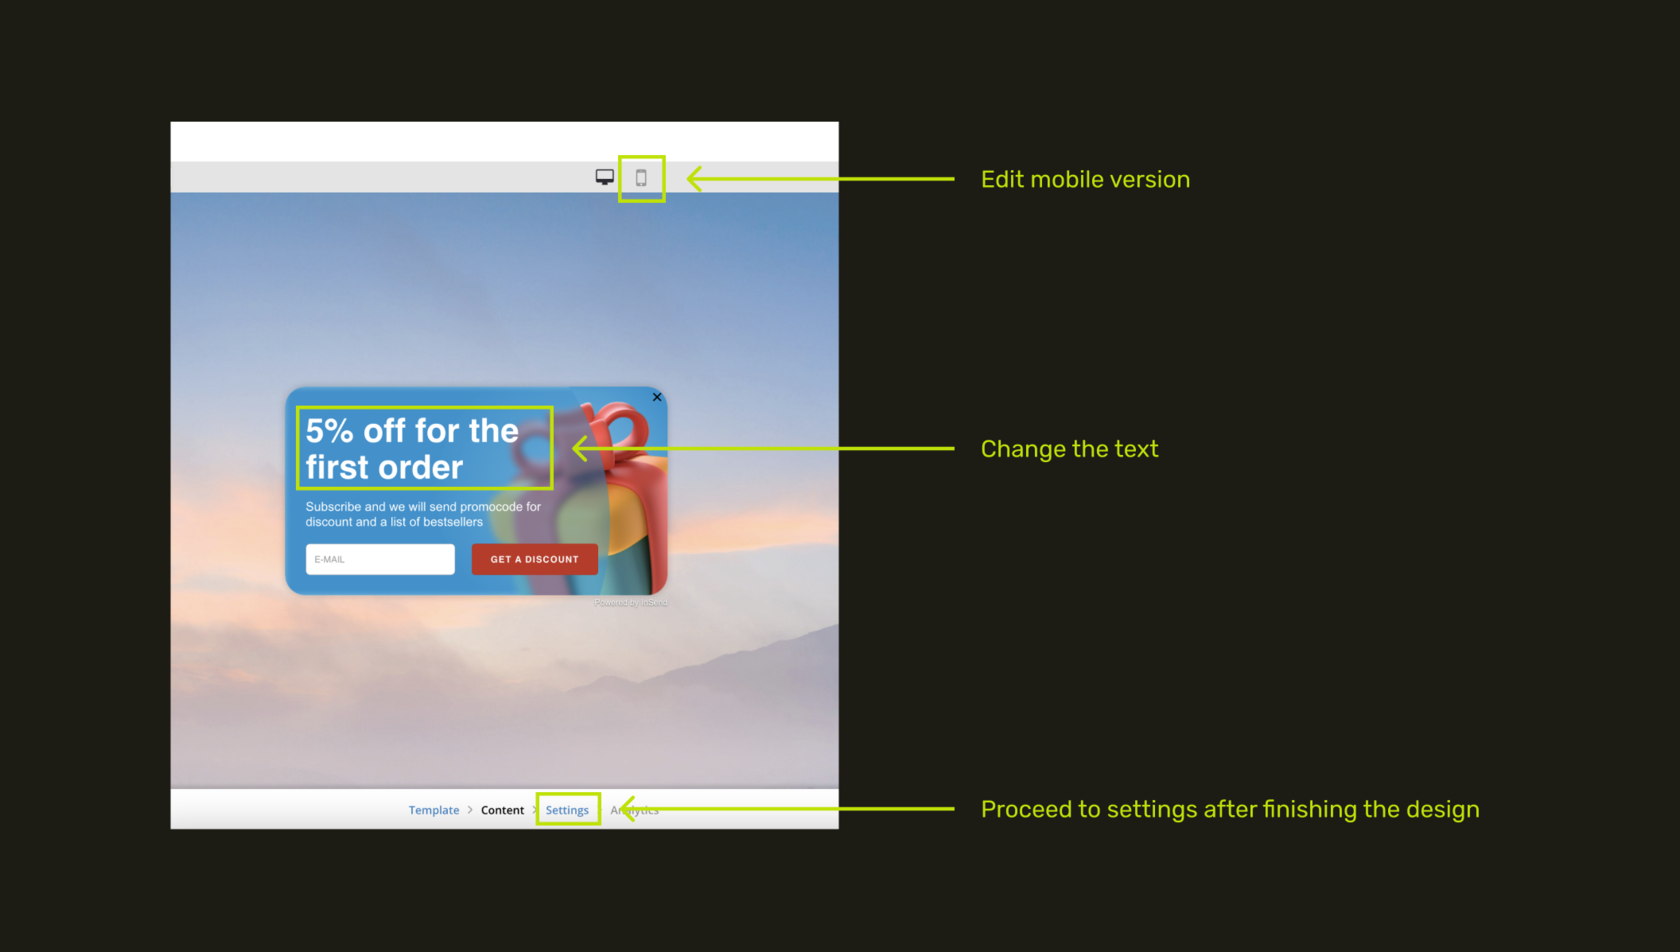
- In the Content section, I checked that the web form looked fine on both PC and mobile. I also changed the discount from 10% to 5%. Then, I previewed it on a PC to ensure it suited our website. It looked great, so I proceeded to the Settings.
- It was fantastic to see that all the settings were pre-made, and I liked them the way they were.
- As the web form had already started working, I needed to launch the email quickly. I clicked on "Email #1 after popup '10% Off For the First Order'" and went to the Content section.
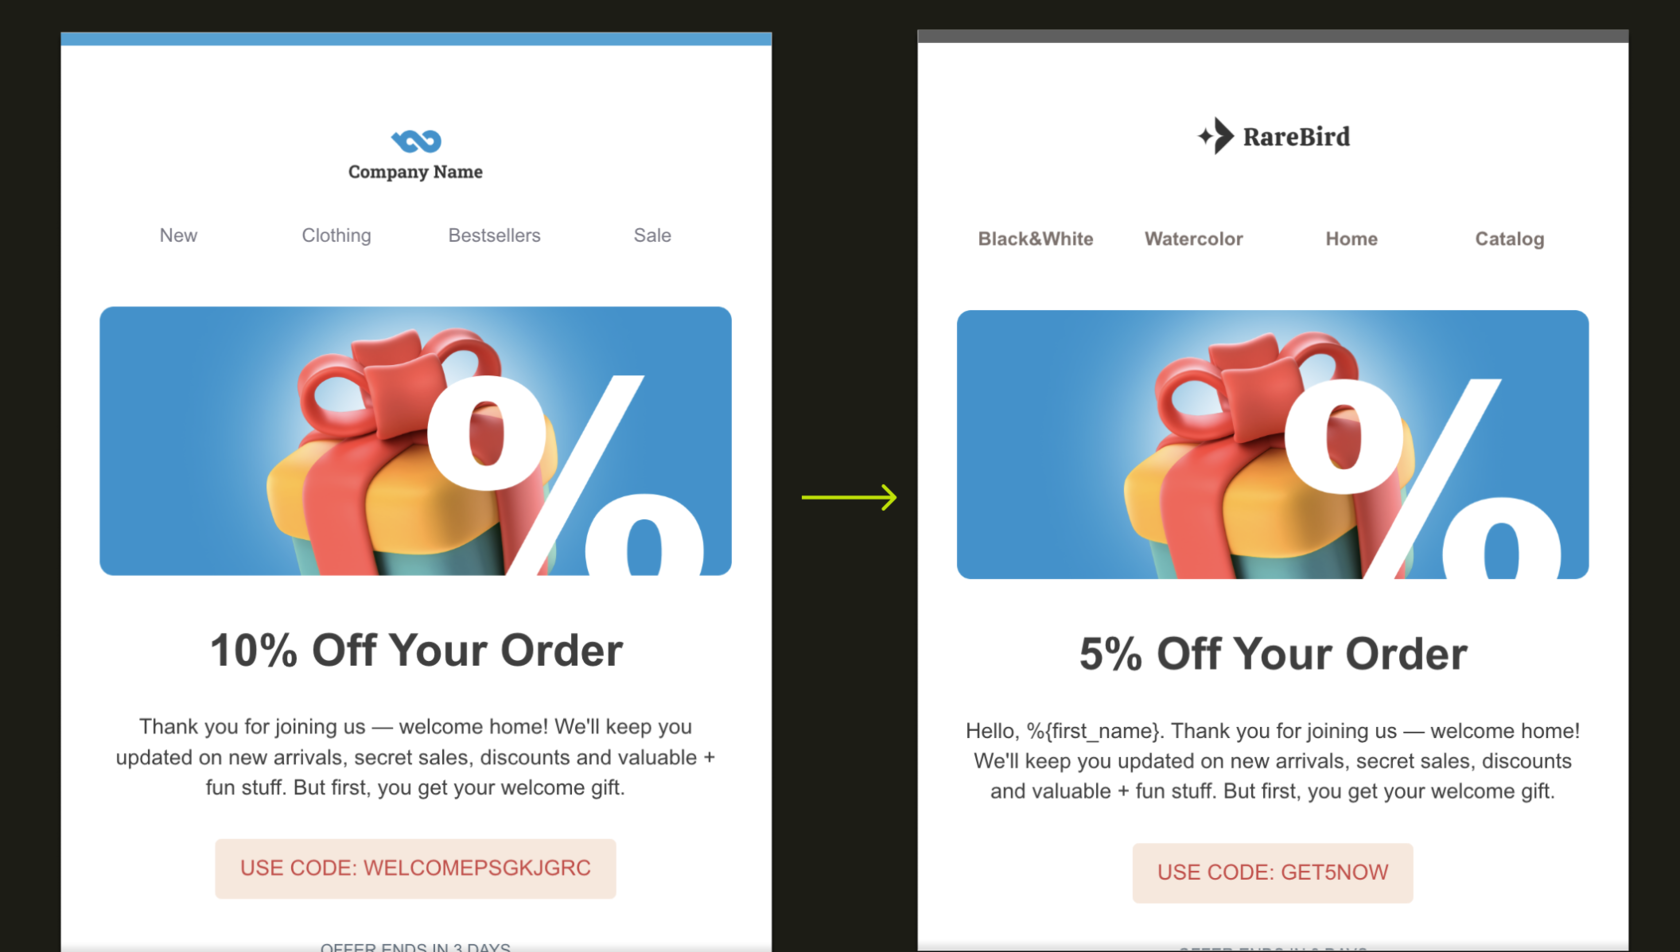
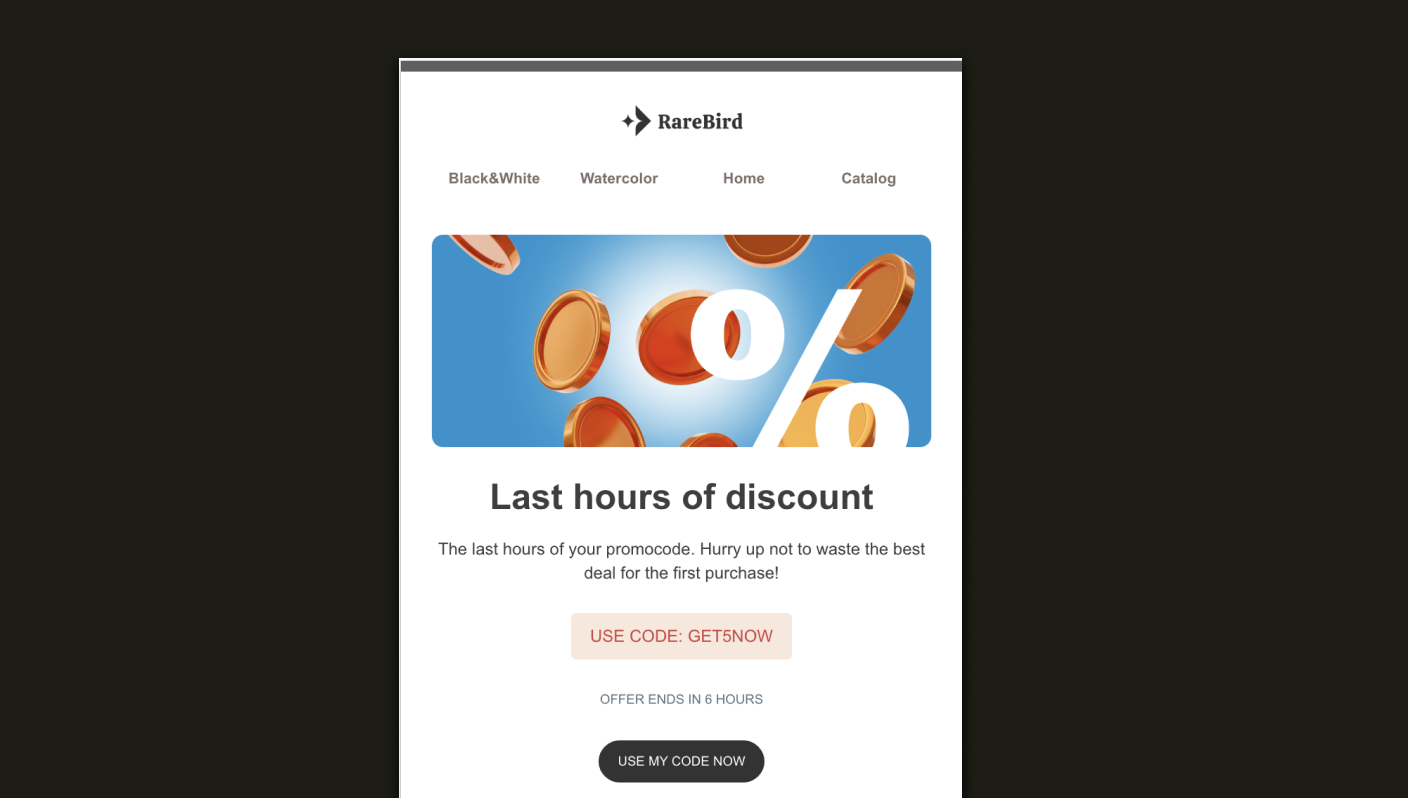
- First, I changed the color scheme from blue to grey and went by. I added the logo at the top of the email, but the picture was too big. So, I clicked on the </> symbol in that tab and changed the size of the picture from width="300" to width="150".
- Then, I changed the categories under the logo as the default ones didn't fit our needs, deleted the underline and changed colors from blue to grey.
- I created a new promo code in our CMS system for a 5% discount with the name "GET5NOW" and added the promo text to the email in the orange block. The text above mentioned that the offer would end in 3 days, but our promo didn't have any restrictions. I decided to leave it as it was, as a marketing motivation for future customers.
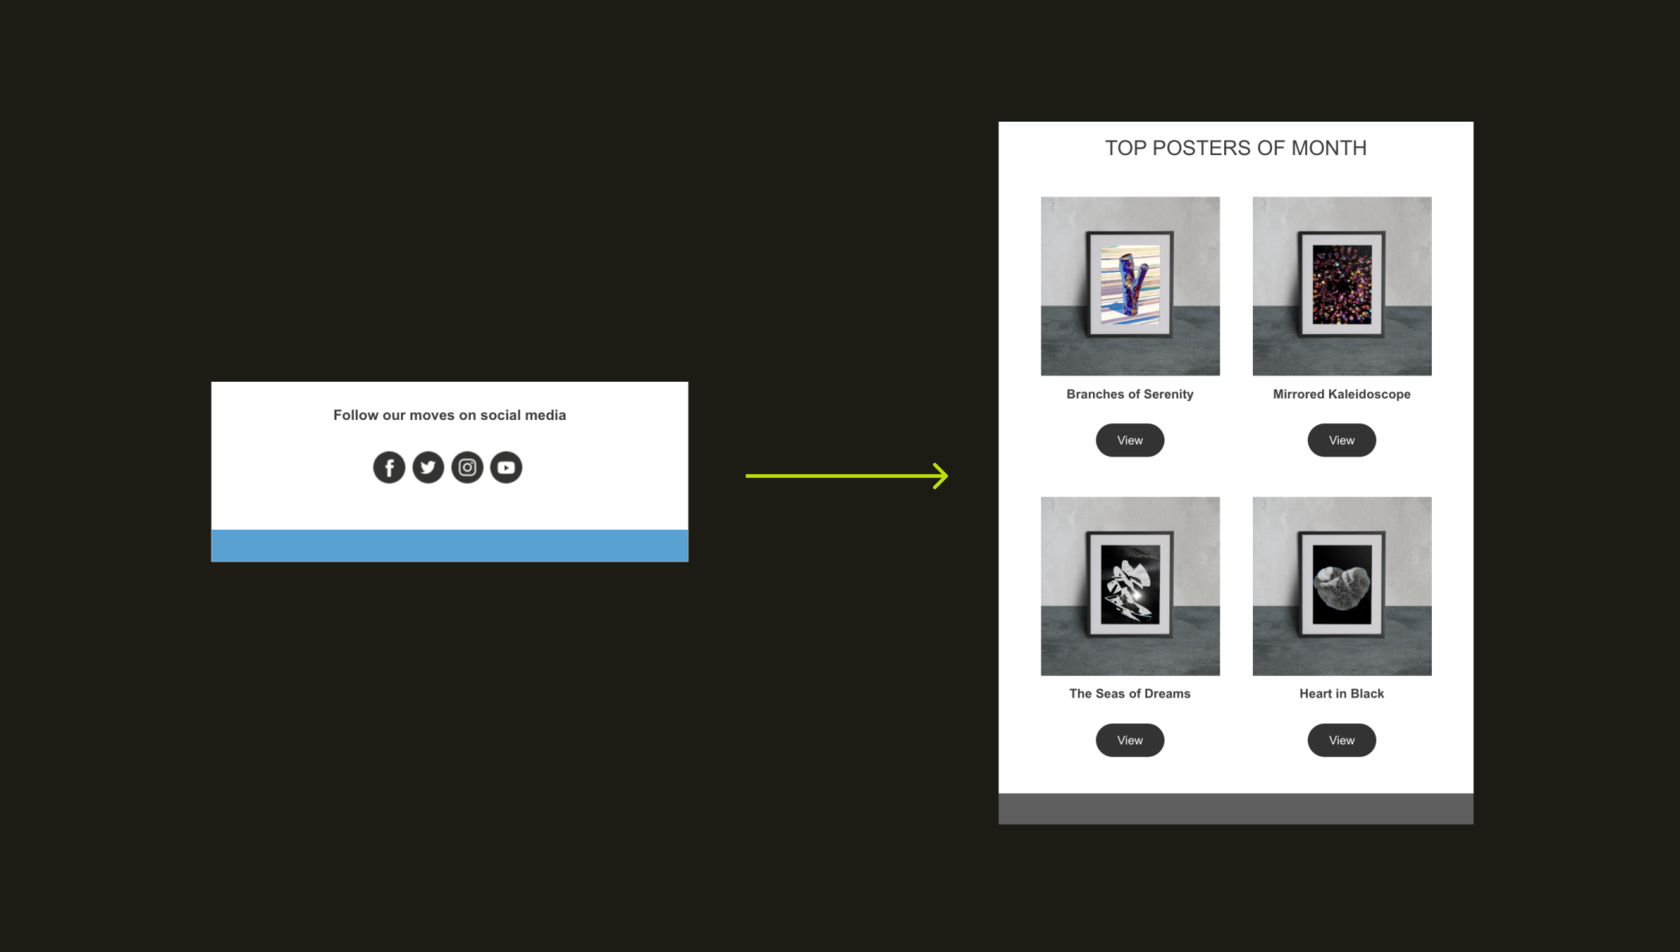
- I didn't need social media, but wanted to add some of our bestsellers products. I've chosen the block with 2 cards and added products there. Then duplicated the ready block and added 2 more products there.
- Then, I went to the subscribers page. Thankfully, all the settings were already done, so I simply entered the sender's name and email from which I wanted the marketing emails to be sent. After that, I clicked "Send," and the email was launched.
But one email is not enough. People receive many emails daily, so I needed to set up a reminder.
- I returned to the automation and clicked on "Email #2 after the popup '10% Off For the First Order.'" I repeated the steps for designing and launching the email.
- I thought that one reminder is good, but two are better. So, I duplicated the second email, changed the name to "Email #3 after popup '10% Off For The First Order'" (so I would know the purpose of this email), and modified the text in the content section to let people know that they have only 6 hours left to avail the offer.
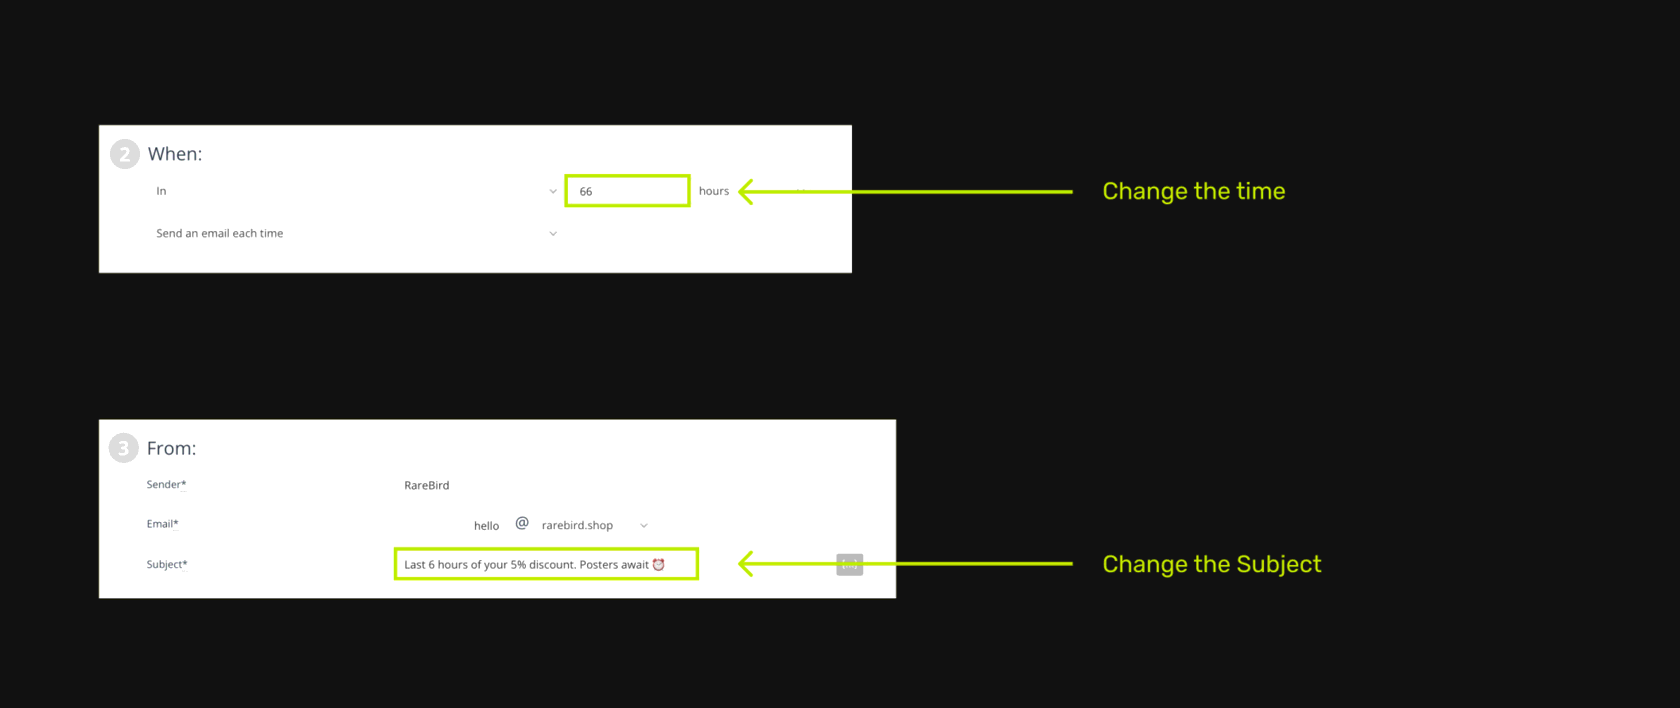
- In the subscriber's section, on step 2, I adjusted the conditions so that the email would be sent 66 hours after the person subscribed. That would be exactly 6 hours before our offer ends.
- Then I set up the subject to "Last 6 hours of your 5% discount. Posters await ⏰" and turned email on.
That's it for today. I decided to come back tomorrow and see what happened.
